
How to Change the color or Repair a Broken Cast with OrthoTape fiberglass casting tape.
If you are ever find yourself in an orthopedic cast, it may be a good idea to know how to repair it in case any accidents or unfortunate cast signings occur during this grueling 6-8-week period. Now most doctors would not recommend that a patient apply a cast themselves, but if you feel like saving yourself some money weÆd be happy to share some casting secrets with you, at your own risk of course.
First things first, you will want to clean the cast up a bit by using a sponge or rag to wipe away some of the excess dirt. If you were fortunate enough to be blessed by the casting gods with a waterproof cast, you can usually get rid of the dirt by cleaning the cast off in the shower/sink.
If you are wanting to repair a broken, cracked, or poorly drawn on cast, you will need the following items:
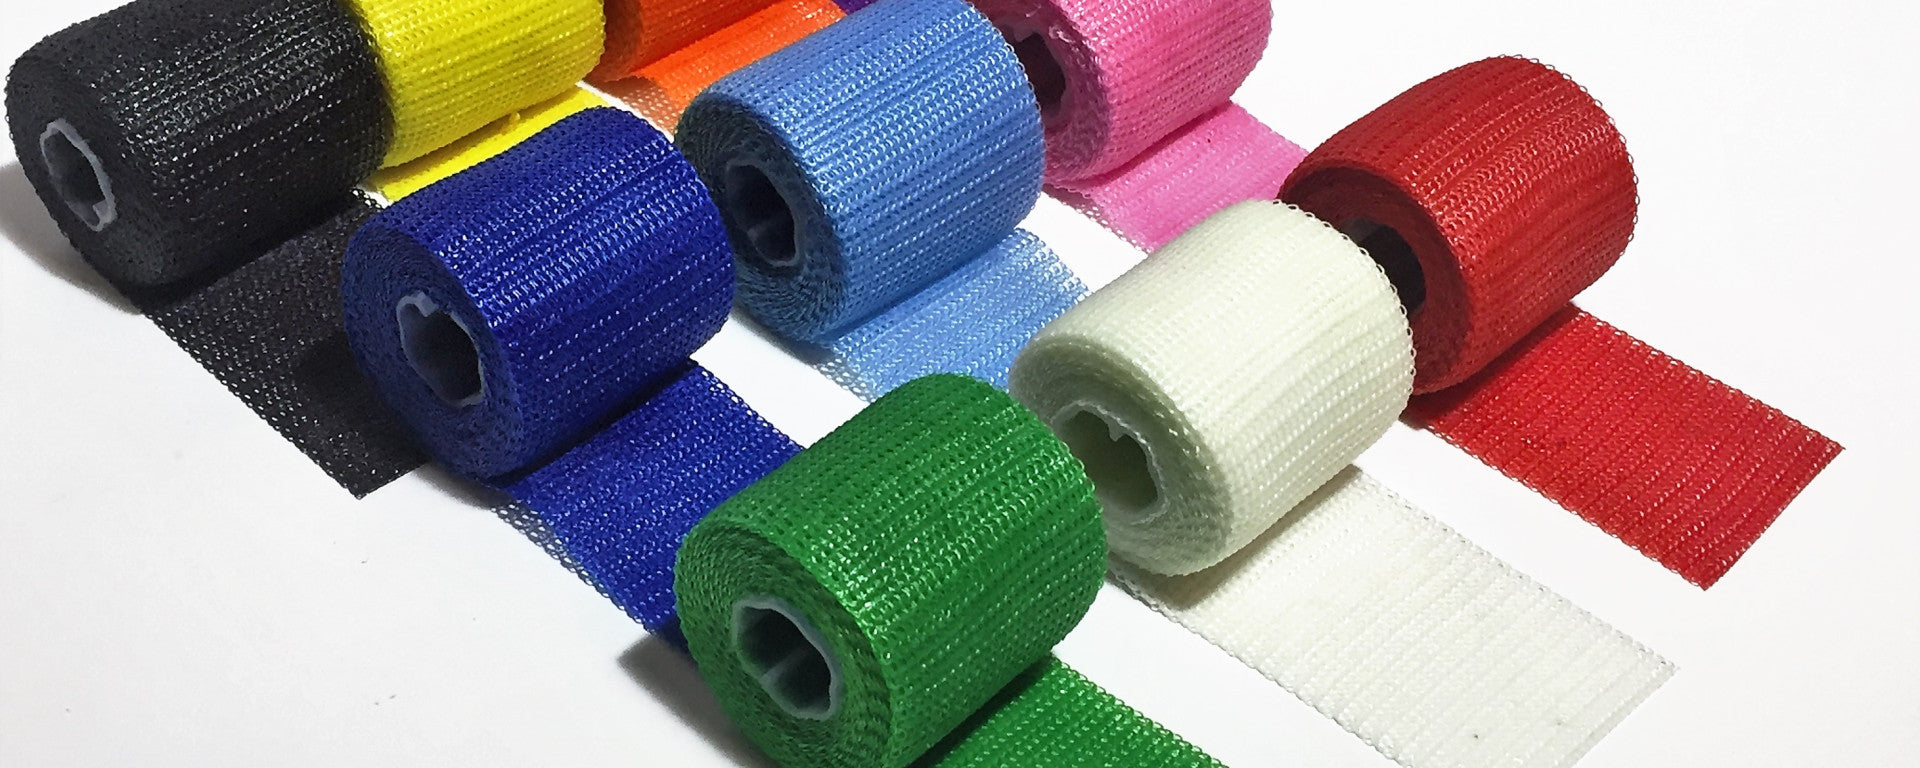
At least 1-2 rolls of fiberglass tape. We recommend ordering extra for novice cast applicators. And if you suddenly realized the hot pink cast you got doesnÆt actually go with everything, now would be a good time to consider a color change.
A couple pairs of gloves. Fiberglass tape will stick to a bare hand, and if dyed can stain your skin or clothes. The gloves eliminate all of these potential problems.
A bucket/large bowl filled with cold water to submerge the casting tape in. This is done before you begin rolling the tape on, as it helps to make the tape easier to apply and have a better-finished look once completed.
Once you have all the necessities, you can begin the application process! YouÆll want to put the gloves on before anything else, after that just open the bag of tape, squeeze it into the cold water (shake off the excess water), and start rolling away! Once youÆve applied the tape let is dry until solid, which should only take up to 10 minutes.
Summary of how to apply the fiberglass casting tape:
Often oils from the skin or just the daily grime can cause the surface of a cast to become slippery and not want to bind to a new layer.
The best way to overcome this is by preparing the surface of the cast so that it can adhere to a new layer.
1. Use a paper towel or cotton ball to wash the cast with some rubbing alcohol. This will clean the cast surface.
2. Lightly sand the cast with sandpaper or steel wool.
3. Wipe away any residue from sanding so that the surface is clean.
4. Wet the surface of the cast with a little water so that it is wet.
5. Begin applying the layer of casting tape over the cast, pulling it taut so that is can bind to the underlayer.
6. Rub the new layer so that the resin can bind with the old surface, pushing hard in areas that are used most. Like around the palm of the hand.
Doing it this way will ensure a stronger bond to the existing cast.
